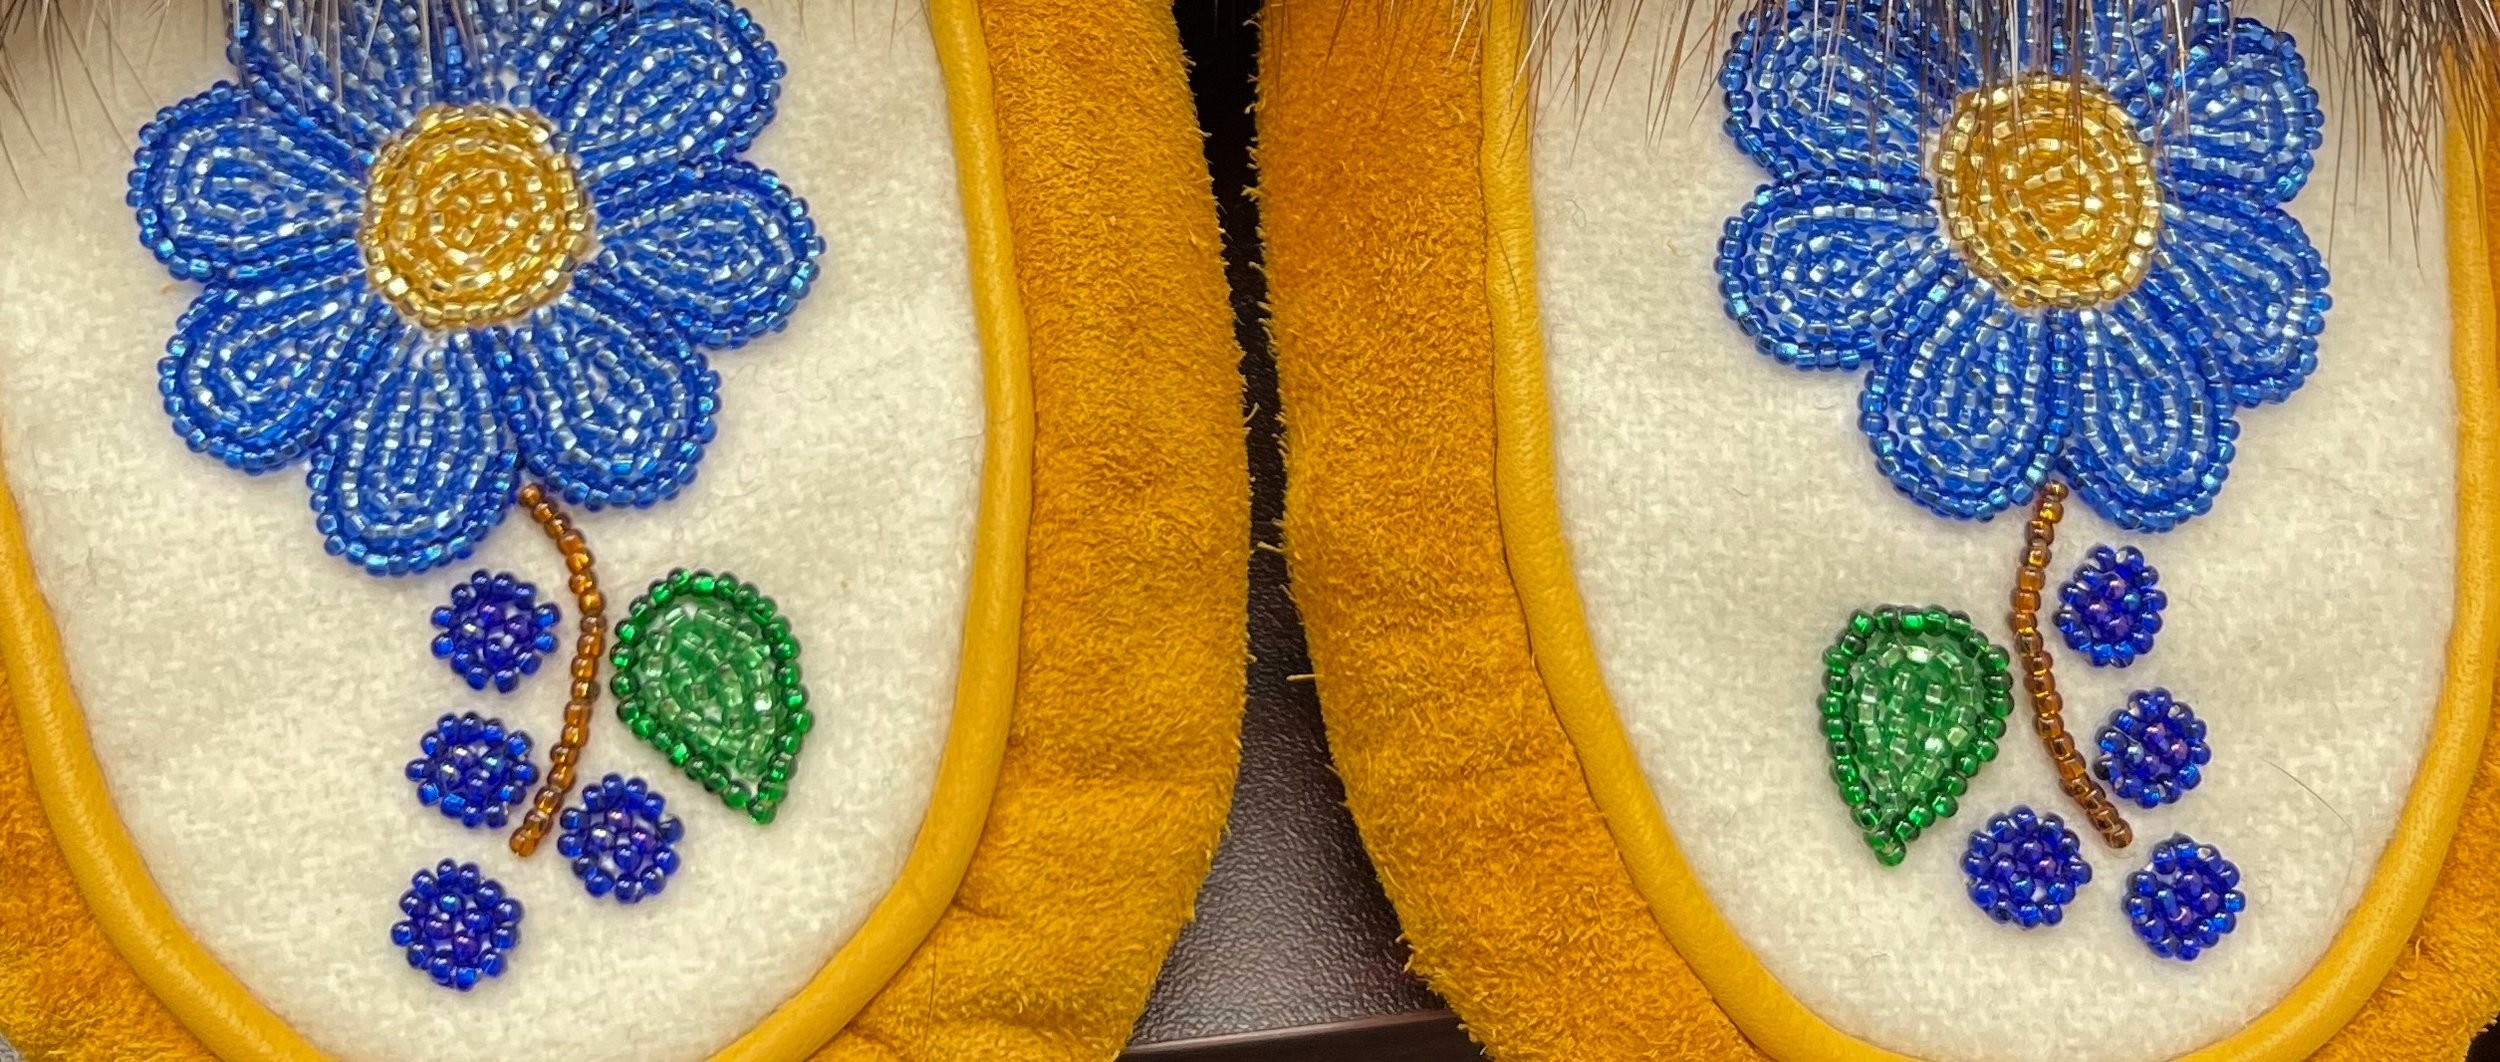
Miigisikwaason
Beading Earrings
The Basics:
These are basic tips for beginners that would like to learn how to bead earrings. It is meant to be a tool for beginners on how to get started and only as a guide. Everyone has different methods of how they bead. What works for one doesn’t always work for another. As you get more comfortable with beading you will find your own methods that work best for you.
Preparing Materials:
Gather all materials you will use for your beaded earrings.
Suggested materials but not necessary:
Pellon or felt, choice of beads, gems or cabs, banding, E6000 Glue, beading thread, beading needles, scissors, vinyl, or thin leather for backing, earring hooks, paper, ruler, pen, or pencil.
Getting Started:
Choose your colour scheme of your beads and other materials you will be using.
Draw or outline your design of how you want to make your earrings using paper.
Cut your design.
Measure your design, the width and length.
Cut your pellon or felt, using the size of your design. Leave extra space around the edges.
Glue or tack your design onto the pellon or felt.
Get your beading needle and thread ready. You can either use 2 needles or 1 needle.
If you are using gems or cabs, glue or tack them down with your needle and thread of where you want them placed. You can do both if you have that option (gluing and tacking).
Beading:
Decide what method you are going to use for your flat stitching, either 1 needle or 2 needles.
Pull your needle through the edge of you gem or cab, any side you prefer to start from.
Select the choice of your beads, 4 beads if you’re using 1 needle. If you’re using 2 needles use enough beads to go all the way around the gem or cab.
If you’re using 1 needle, go back two beads and pull your needle and thread through the second bead and put your needle and thread through the last two beads and add 4 more beads.
Repeat going back every second bead, pulling your needle and thread. Adding 4 beads each time. Repeat all the way around.
If you’re using 2 needles to tack your beads, use the second needle and thread to tack your beads through the thread. Tack it every two or three beads which every method you’re comfortable with. Repeat all the way around.
Putting the beadwork and backing together:
After you have completed your beaded earring, trim around the edge.
Glue it to your choice of backing (vinyl or leather). Trim the edges of the backing.
Optional but not necessary: If you want to make your earring more stiff and firm glue a piece of cardboard or a piece of plastic between your beadwork and the backing before you start with your edging.
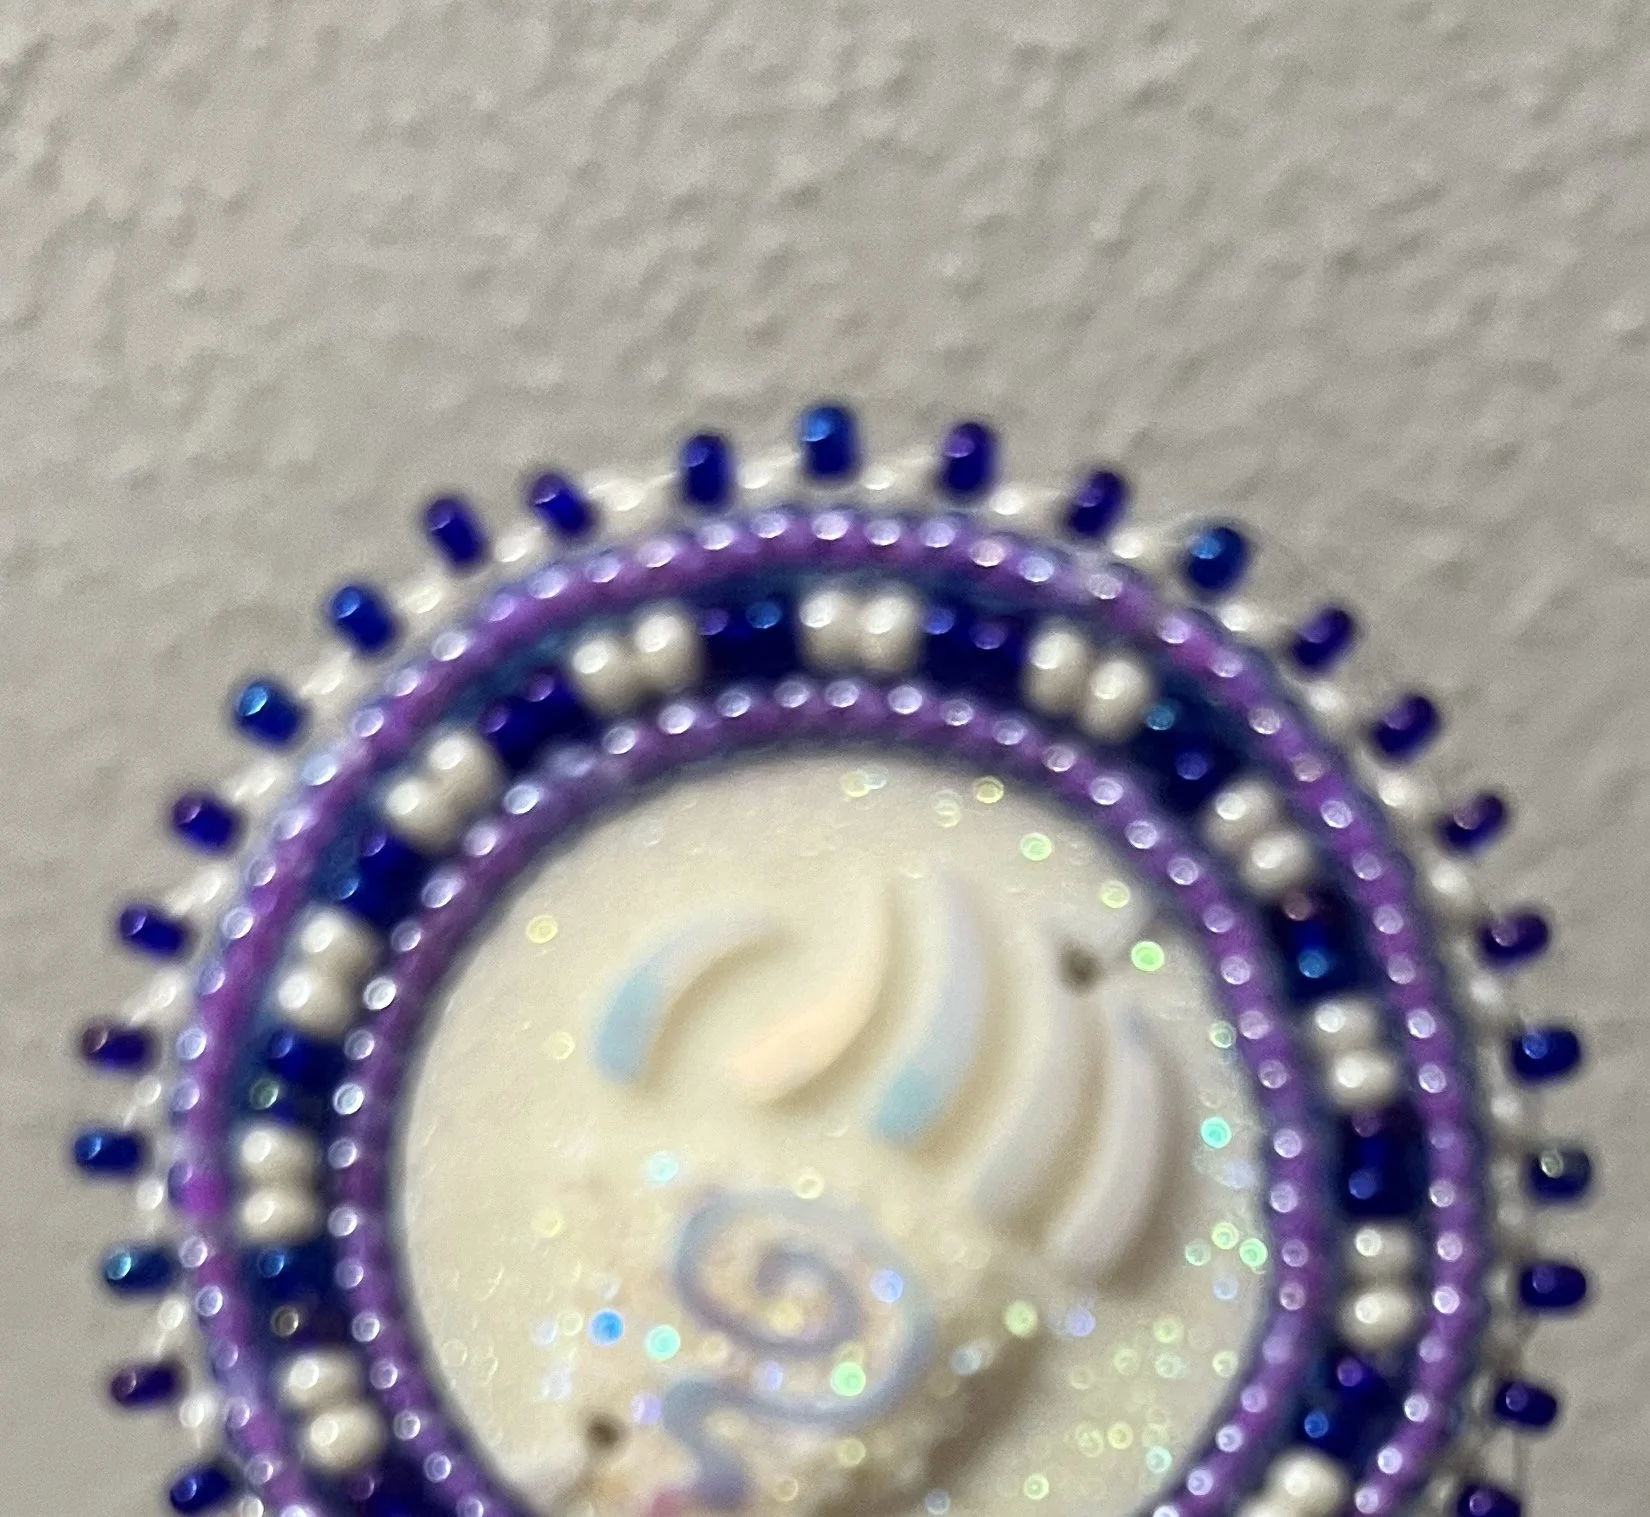
Edging:
There are different ways of how to edge beaded earrings. One of the ways to bead the edge is using 3 beads.
The first step, bead 3 beads to start, sew through your pellon (beading stabilizer) and the backing, pull your needle and thread through the last bead.
Add 2 beads, sew through your pellon (beading stabilizer) and the backing, pull your needle and thread through the last bead. Continue the same steps, adding 2 beads all the way around until you get to where you started.
Once you are the end and beginning, use 1 bead, pull your needle and thread through the first bead you beaded on.
Finishing touches:
Once you are done putting together your beaded earring.
Make a loop using 4-6 beads.
Attach your choice of earring hooks.